|
| Photo by Sarah Tomlinson |
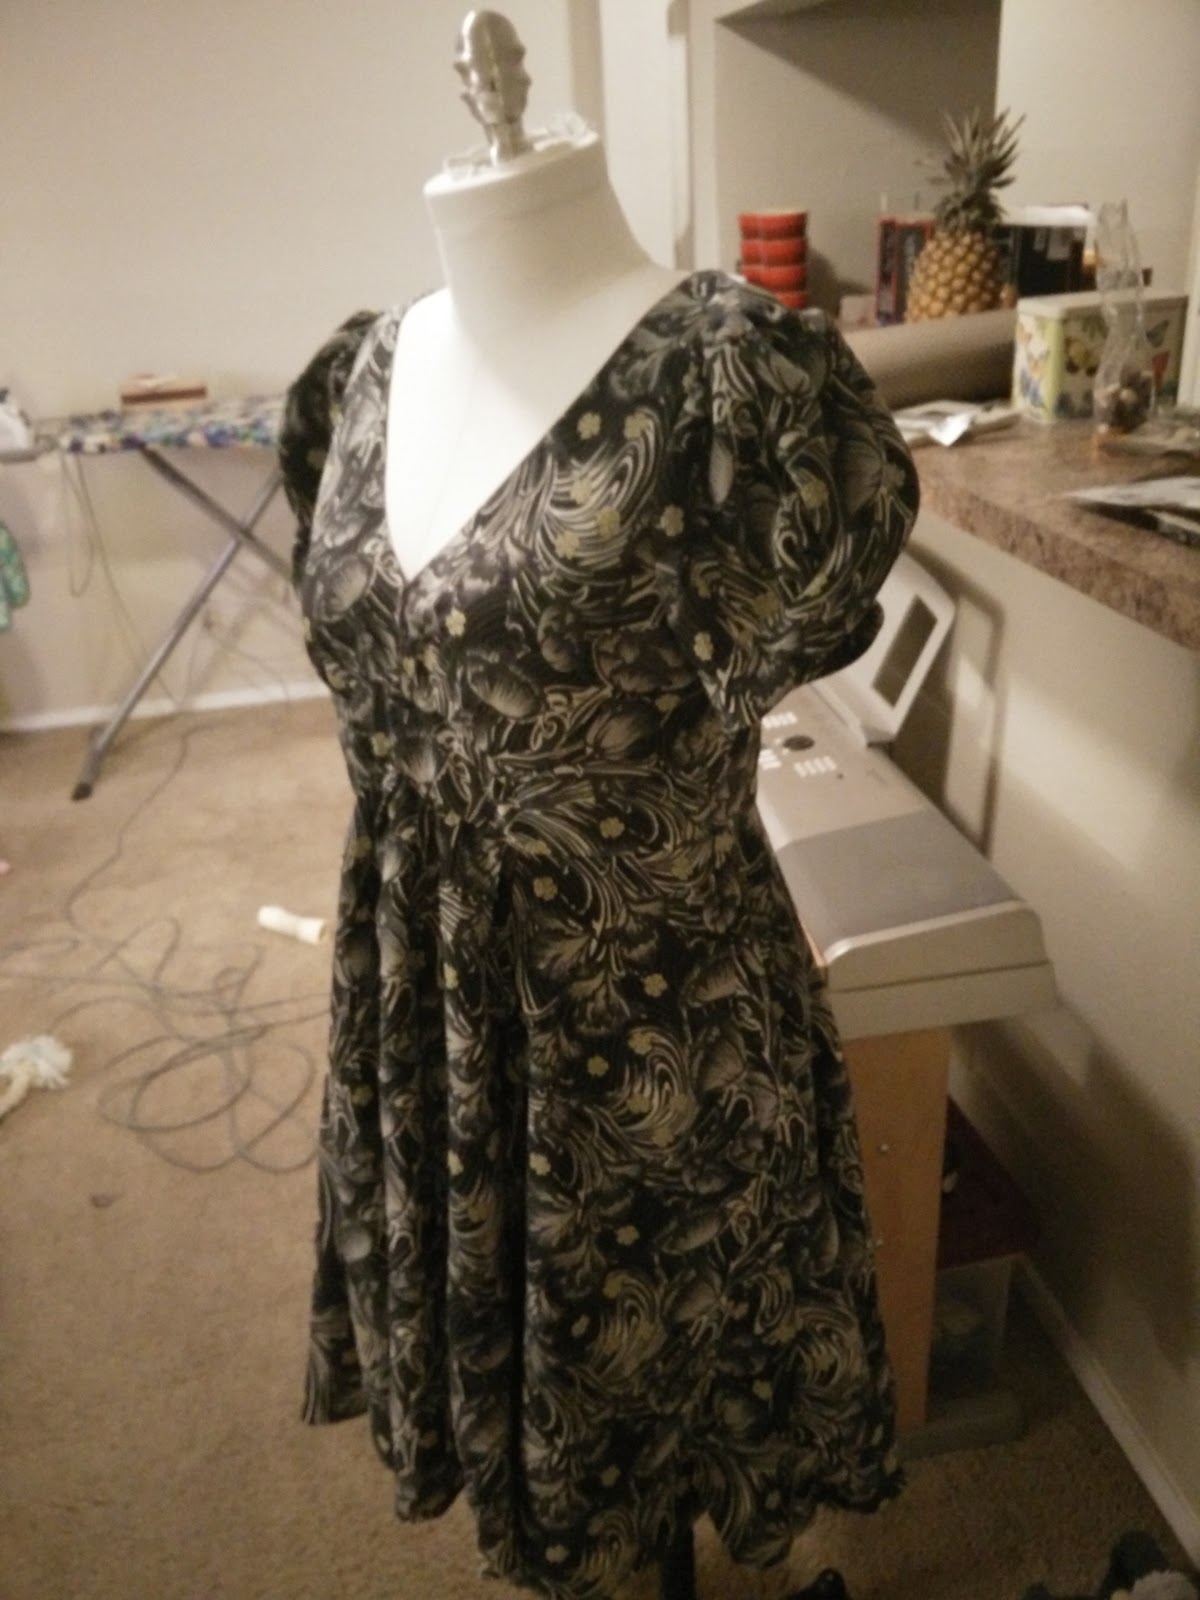
Spring Tango Dress! I made this for the Spring Tango Festival in Austin this year. I finished it just in time (hemmed it the morning I drove down to the festival) and wore it later that evening. I made the slip for it but the hem had lengthened beyond the hem of the dress and I didn't wear it. I'll need to fix it later.
 |
| Fabrics before pretreatment and cutting |
Fabrics: "Moonstone" silk charmeuse from Mood (slip), Liberty silk crepe de chine in "Shinjuku" charcoal colorway from Fabric.com
Slip Fitting/Alterations:
Added 1" total width to the front bodice
1" swayback, took it from the top of the skirt (pivot and slide technique), added an extra inch to the bottom of the hem because I wanted to retain the "high low" look
Moved in the strap attachment points on the back towards the center back 1"
Instead of cutting spaghetti straps, I bias bound the top edge with 1" wide self fabric (same width as the straps). This turned out really nicely.
 |
| Completed silk slip |
Dress Fitting/Alterations:
Added 1" total width to the front bodice
1/2" sloped shoulder alteration
I made several muslins to get the front band fitting right, I still don't think it's right but looks OK
1" swayback/short back length alteration (pivot and slide technique)
1" full bottom adjustment (made at the top of the skirt pieces)
Somehow when I cut the dress out I cut the back bodice out so that the back bodice and band match perfectly. I don't know that I could do that again even if I tried. I used a bit of fusible interfacing to stabilize the zipper, and I want to hand overcast the edge anyway. I hand overcast the armscye seam.
 |
| Bodice in progress |
 |
| Perfectly matched back seam. |
My bicep is an inch larger than Vogue's standard model; the sleeves as drafted came out a tiny bit snug but they don't bother me. I didn't find the sleeve instructions to be difficult to follow.
 | | |
| Nearing completion |
|
|
|
I am really happy with how the bodice fits. The neckline doesn't gape at all on me, and the bodice overall fits very well. The next time I make this I may fiddle with the front band some more, but it doesn't ripple when I wear it and I have plenty of breathing room. I used the recommended zipper size and don't have a problem getting it on or off.
 |
| Photo by Sarah Tomlinson |
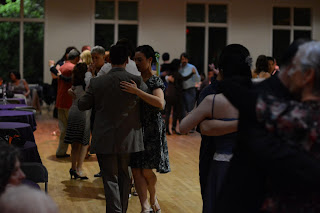 |
| Photo by Sarah Tomlinson |